


Do your children love to save money as much as mine do? My frugal twosome enjoy squirreling away their Tooth Fairy, birthday and allowance money for a rainy day.
At the same time, they absolutely love the experience of giving, especially around the holidays. How to reconcile the desire to give with the expense of Christmas shopping?
A few years ago my family put these two ideas together: we started helping our kids make salt dough ornaments for Mom, Dad and their friends.
The idea was an instant hit and spread to my sister and her kids, who added to their “giving” list: teachers, the mail carrier, even their best friends' parents.
Today, it's a tradition in our extended family to have the younger members save their pennies and give adorable, inexpensive handmade dough ornaments as gifts each Christmas. Having children make, rather than buy, gifts serves another purpose, too: kids tap their creativity and experience a sense of pride that they “did it themselves.”
(By the way, a salt dough ornament make-and-take is one of the best theme party ideas this season, so don't be left out -- hold your own party for your friends and make something special.)
Here's how to get their, and your, creative juices going and produce great ornament gifts this year.
Basic Salt Dough Ornament Recipe
This really couldn't be easier. Make a double-batch if you're hosting a party for your or your children's friends, or if your kids would like to make a number of ornaments each to give as gifts.
And be sure to make a few for your own tree while you're at it -- they're keepsakes and show your children's skill progression over the years.
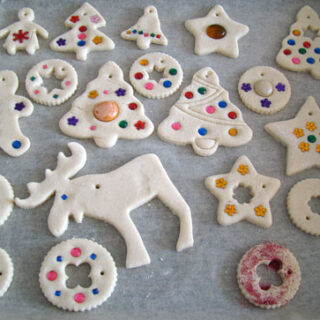
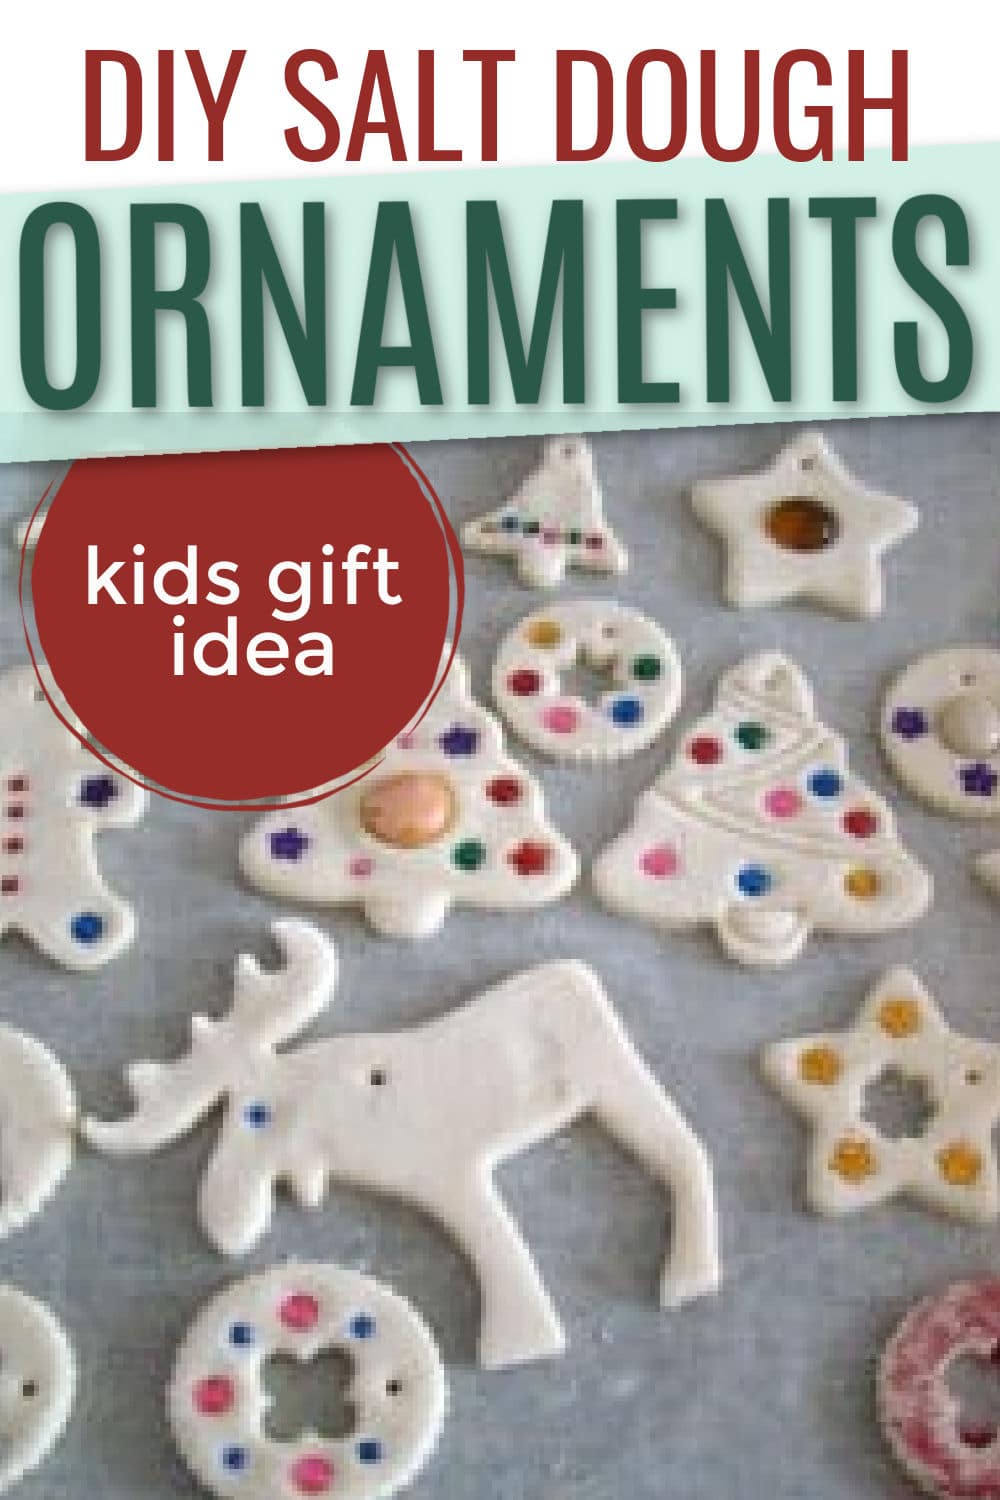
DIY Salt Dough Ornaments
One cute way for your kids to give gifts to their grandparents and other relatives is for them to make salt dough ornaments. They are personalized and great memento for the future. Plus, they're a great frugal gift idea!
Materials
- 4 c. all-purpose flour (NOT self-rising)
- ¾ c. salt
- 1 ½ c. warm water
Tools
- Rolling pin
- Cookie Cutters
Instructions
- Pour the flour and salt into a bowl. Mix with a spoon.
- Add the warm water to the flour/salt mixture. Mix well.
- Cover bowl tightly or form the dough into a ball and close in a ziploc bag. Refrigerate 1-2 hours.
- Preheat oven to 300F.
- Roll dough on a floured surface, using a rolling pin, until the dough is approximately ⅛″ thick. (Important: Do NOT make the ornaments too thick. They will take a longer time to heat-dry and may crack, or may not dry all the way, resulting in breakage later.)
- Using cookie cutters, cut shapes out of the dough. Place on an ungreased cookie sheet ¾″ apart.
- Using a toothpick, poke a hole near the top of each ornament. Enlarge the hole to about ⅛″ in diameter, or larger if you’ll be stringing the finished ornament with a wider ribbon.
- Bake in oven for 1.5-2 hours, or until COMPLETELY hard. Cool completely.
- Decorate ornament as desired (see ideas below). Hang using a string or metal hook through the hole in the ornament.
Decorating Your Ornaments
Now that you've got the basic recipe down, here comes the fun part: decorating your creations.
Use age-appropriate materials that suit the party guests' abilities and encourage them to make more than one ornament; this idea is so frugal, it's sure to suit your Christmas party budget.
- Buy inexpensive holiday style cookie cutters and cut out dough shapes. These will ensure a great result, even for very young children.
- Make a decoupage finish for your ornament. Cut out a Christmas-ey picture or a piece of fabric to fit the front of your ornament. Glue the cutout to the ornament; dry completely. Cover the entire ornament and image with clear-drying crafts glue; dry completely. Your ornament is gorgeous and ready to hang on the tree.
- If you'll be doing decoupage, help kids select images representative of the recipient. For example, an apple or pencil is perfect for teachers; a musical instrument is great for a brother or sister who's in the school band. Add a cutout of something holiday-esque, like holly berries or Santa's smiling face. Follow the remainder of the decoupage directions above.
- Put out glitter, rhinestones and faux pearls for little guests. Help them apply glue to the fronts of their ornaments, then let them “beautify” all by themselves by pressing the faux gems onto the glue. Do only one side at a time and dry completely before turning over, or just have guests decorate the fronts.
- Older kids will love showing off their talents by piping swirls, curly-Qs and other special touches on the surface of their ornaments. Wet the dough on the ornament surface just slightly before adding the piping to ensure the additions will stick together during baking. Place a lump of dough in a Ziploc bag and close securely, pushing all air out of the top. Cut off one bottom corner. Squeeze to make the dough come out. Press the piped design down just slightly into the surface of the ornament to help it adhere.
- For little hands, safety always comes first. Instead of metal ornament hooks, cut 4” lengths of slender ribbon and allow the children to thread through the hole at the top of each ornament, then tie off. Hang on the tree using the looped ribbon.
- Paint is not recommended for this project unless you apply a bottom clear coat of glue first or unless you use a paint specifically formulated for porous surfaces. Many non-toxic paints, especially water colors, will seep in and will not give a good result. On the other hand, if what you're looking for is a “washed” or subtle effect, you can use the porous quality of the ornaments to your advantage...paint away!
- Encourage kids to write the year and a special message on the back of each ornament. (Use permanent marker.) This way, they can reminisce as they pull the ornaments out each holiday season.
- Help children write a special message for gifting purposes: “For Grandma,” “We love you, Daddy,” “You're a great teacher,” etc.
- The basic salt dough recipe is non-toxic, but it's still a good idea to make sure very young children don't bite down on or suck the finished ornaments; a piece may break off, posing a choking hazard. If you're worried about toddlers trying to eat some of the unbaked dough, bake the ornaments ahead of time yourself, cool completely and let kids do the decorating.
Remember to encourage kids to use their imaginations and come up with gorgeous, giftable results. If this is a make and take party, send guests home with the recipe so they can make more ornaments at their leisure.
Above all, remember to let yourself be inspired -- children often come up with brand new ways of looking at and designing things that make us remember the spirit of the season. Happy holidays and have loads of fun with this project; we always do.
About the author: Melanie is a self-professed cheapskate who nevertheless likes to make her DIY creations look gorgeous. A mom of three creative little boys, she loves to write, go hiking with her family, and organize awesome parties ranging from kitschy-cool New Year’s Eve soirees to awesome farm birthday ideas. She lives in sunny southern California with her family.


Leave a Reply