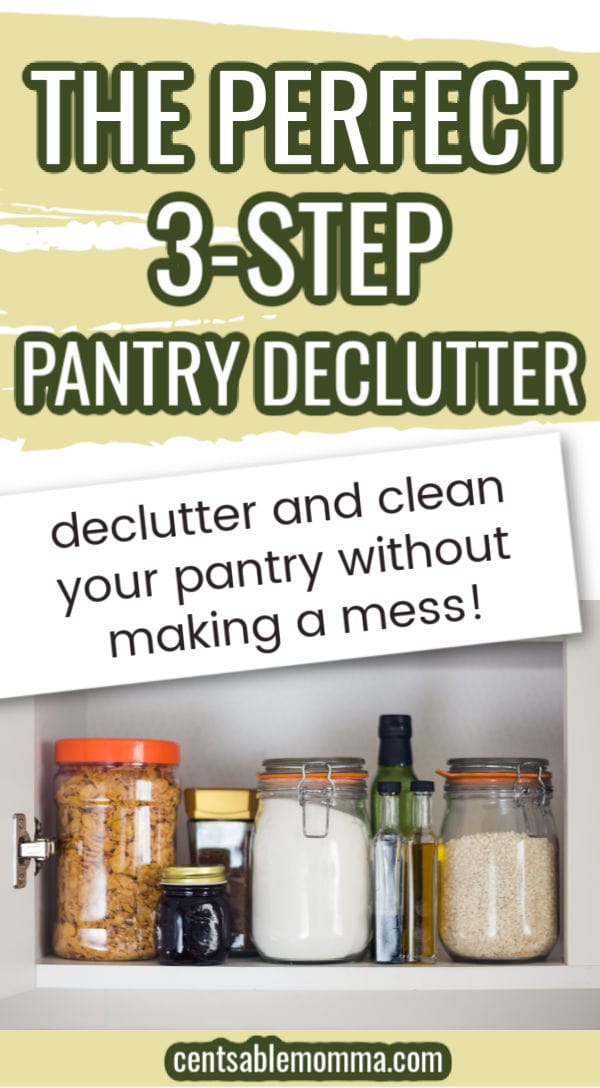
Let’s walk through 3 super-simple steps for how to do a pantry declutter that will leave you with a more organized food storage space you can use efficiently. When areas like your too-stuffed pantry feel overwhelming, sometimes all it takes is a few simple decluttering tips to get you moving in the right direction with a plan for success.
It may feel like a huge pantry stockpile is a step to saving money on food. In reality, when it gets out of control, all of that clutter is actually costing you by allowing food to expire and causing you to buy duplicate items because you can't find what you've already purchased.
We're going to solve that problem right now by facing the beast and clearing the clutter from your food storage area. With this simple 10-minutes-a-day method, you'll feel like you're in control the entire time... and soon your pantry will be clutter-free.
You know what that means? Meal planning and cooking will be easier. Making a grocery list will be easier. Best of all, you won't feel guilty every single day when you open the pantry door.
What is the Best Way to Declutter a Pantry?
If you have a very tiny pantry or just one single food storage cabinet, you may be able to follow the classic suggestion to remove everything from the pantry and do a single big declutter.
Realistically, you probably have a disaster area of a standalone pantry. Or you have foodstuffs scattered across several kitchen cabinets and random storage areas.
Maybe you need to declutter in small bits of time or your brain just can’t handle a huge amount of clutter-purging and decision-making at once.
From experience, I’ve found it’s best to take almost any decluttering project in small steps. My favorite way to go about a pantry project is to declutter one shelf at a time. Do a little bit every day -- my personal limit is about 10 minutes -- and the job will be finished before you know it.
Aim to complete this decluttering project within a week... or at least before your next shopping trip. You want to bring home that new stock of groceries and be able to put it away in an organized pantry instead of randomly tossing everything in and closing the door.
Even if you don’t have a pantry room, closet, or standalone cupboard… you still store your food somewhere, right? Put this method to use anywhere you keep food, even if you 'only' have a few kitchen cabinets! It’s such an easy way to declutter the pantry, you’re going to love your space!
Let's get to it...
3 Easy Pantry Declutter Steps
Before you do anything, get prepared. You want to spend your precious decluttering time being extremely focused and working quickly.
Gather and keep these supplies handy throughout the decluttering process:
- lined trash can
- 1-2 plastic bins or boxes (large enough to hold the contents of one full shelf)
- donation box or bag
- gloves (if allergens or potential messes are an issue)
- food-safe cleaner
- clean rags or paper towels
- timer
Ready?
Set your timer for 10 minutes to avoid distraction or losing track of time. Aaand... go!
1. Clear One Shelf
To avoid creating an overwhelming mess in another part of the house, we’re only doing one pantry shelf at a time. Start with the floor if the mess is preventing you from easily accessing the regular shelves.
Remove one item at a time and quickly examine it. Toss anything expired. Do the same with food that’s been opened for a long time that seems ‘off’ or that you know you won’t finish. The same goes for cans without labels and packages without expiration dates.
Check paper and plastic packages for signs of insects or other pests… If you find evidence, get rid of EVERYTHING that’s not in a sealed can or jar.
Now… Think twice about keeping those unexpired bargain items and oddities that nobody really likes. Do you have an actual plan for them? Would you even use them during an eat from the pantry challenge? If not, place them in the donation box… but only if you have somewhere to take them. If you don't know of anywhere that accepts food donations, then they need to go into the trash. Keeping that stuff in your pantry is not doing you any good when it just takes up mental and physical space.
Place the usable items you like and decide to keep in your plastic bin. I recommend this in case you don’t have time to get through an entire one-shelf process in a single session. If you have to stop your session, you can put the bin in the pantry or move it out of the way instead of dealing with a bunch of loose food items making a counter or table unusable.
2. Clean
Examine the empty shelf for signs of insects, pantry moths, and rodents. (Hey, it happens sometimes when you least expect it.)
If everything looks clear, do a quick wipedown of the shelf and walls with your favorite food-safe cleaner. Make sure to get every speck of food particles or liquids that may have spilled onto your shelf.
Also, wipe your foodstuffs in the bin if they are dusty.
3. Put Things Back Where They Belong
It's time to put the food you’re keeping back into the pantry on your freshly-cleaned shelf.
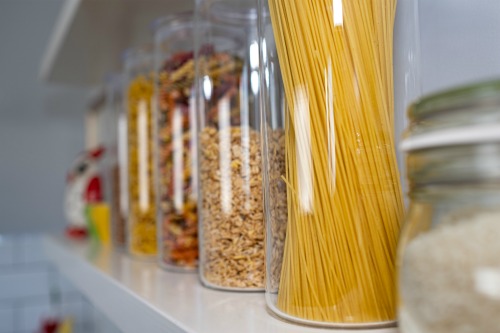
Group like items as you put them away. Do this in a way that makes sense to you. All the ethnic foods together? All the breakfast foods together? All the canned food together? This is YOUR storage space… make it work for you! You may even want to try some new-to-you pantry organization hacks.
As you declutter over several sessions, you'll probably move things around between shelves. That’s fine! Get creative! It means you’re organizing to make better use of your supplies.
After each pantry decluttering session, don’t leave a mess on your kitchen floor, counter, or table. Take the trash out, prep the donation box to drop off the next time you leave the house, and store your plastic bin and cleaning supplies for the next session.
Also, as you declutter each shelf, permanently remove any random items that don’t actually belong in the pantry. Never ever put them back ‘just for now.’
Next Steps for Keeping an Organized Pantry
Make lists:
- Inventory -- this is as simple as writing everything you have down on a whiteboard or piece of notebook paper
- Containers and products to help you organize -- get inspired by these pantry organization tips and projects
- Foods to purchase -- make a list of spices and pantry basics that you need to replace; check out these cheap ways to stock the pantry
- Meal ideas -- now that you know what you really have, you can more efficiently do successful meal planning
Even though the goal is to constantly keep your pantry orderly and clutter-free, real life happens and things get messy. Set dates to maintain your decluttered pantry at monthly intervals. Mark your calendar and paper planner. Set reminders in your digital calendar and favorite task app.
With a little bit of focus and just a few minutes of your time every day, your 3-step pantry declutter will be fast and easy. Plus, the results will save time and money in your everyday life. Begin today and start loving your space!
My Must-Have Pantry Resources


Judy Ward says
Thank you Julie. I’m in Australia but your decluttering tips (very useful for anyone & everyone) are something I will be trying soon - especially the pantry one.